How to curve text in Canva and 6 fun ways to use it
Canva offers a wide range of options for creating gorgeous designs. Once you are familiar with the basics, it’s time to learn how to curve text in Canva to give your design an extra edge.
This post may contain affiliate links. This means I get a commission if you purchase through my links at no cost to you. Read the full disclosure here.
Using curved text stylishly enhances your text, a popular technique in the design world in recent years. I often get asked how to curve text in Canva, and the answer to this question is that it is pretty easy. The nice thing about Canva is that it makes curve text a breeze. In this post, I’ll show you how to curve text using Canva’s curved text generator quickly and easily.
Best of all, you can use the free curved text tool wherever you are just by installing the Canva Mobile app on your device. So let’s start with this step-by-step tutorial showing how to curve your text in Canva!
How to create curved text in canva?
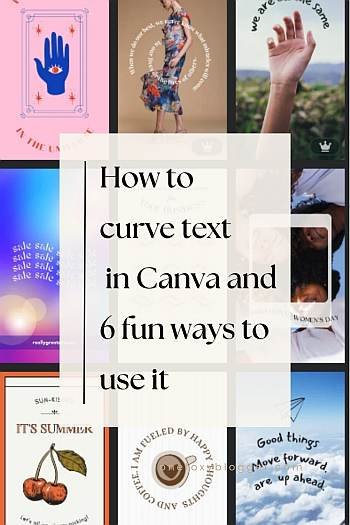
How To Curve Text in Canva: A Step-by-Step Guide With Pictures
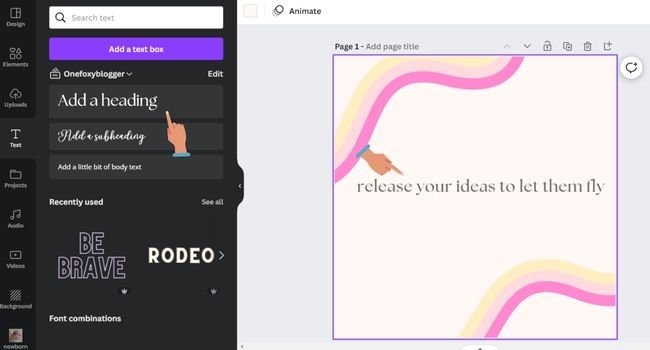
How to curve text in Canva in a few clicks? Add a text block to your Canva design by clicking the text icon and adding a Heading.
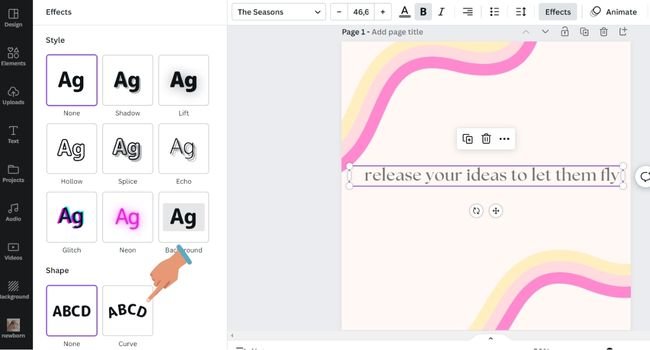
Go to the top menu and opt for effects; this will open up the effects menu.

Scroll down to the shapes tab and click the curve option. The text will automatically curve when you do this.
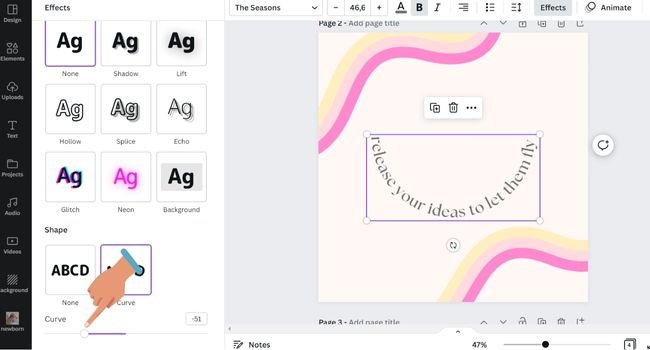
Once you select the curve tool, a value bar lets you adjust the value. If you slide to the left, your text will curve upwards, whereas if you slide to the right, your text will curve downwards.
How to put text in a shape canva?
Are you struggling to add text to a circle or a banner? Putting text into a shape is very simple with the help of the curve tool. Let me show you how that works.
- From the left panel, choose Elements.
- Go to Lines & Shapes and find the shape you want to add to your design.
- Press the letter “T” on your keyboard to add a text box.
- Write/edit the text and curve the text to fit the shape.
Other Canva tutorials you may like:
Different ways to use curved text in your designs
Now that you know exactly how to curve text in Canva, you can experiment with different layouts, colors, angles, and styles. Here are 6 ideas for inspiration on what you can do with curved text in Canva.
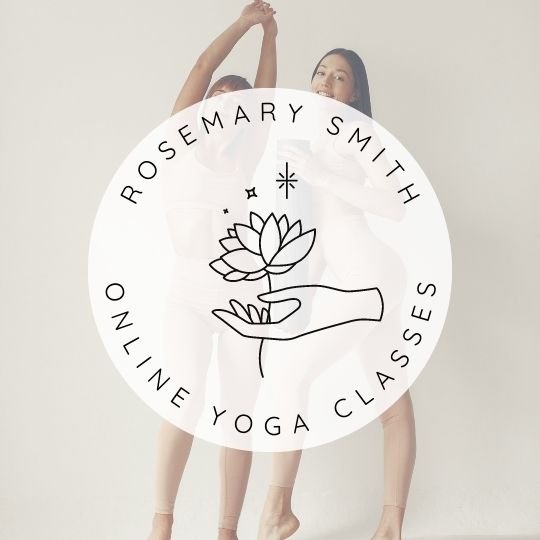
1. Personalize logos with curved text
Personalize your logos with Canva’s curved text logo maker. Curved text makes a good choice if your newly formed business or website requires a logo. With the help of curved texts, you can incorporate your company name and slogan into your logo.
2. Beautify your text quotes
You can create many different text effects using Canva’s curved text generator. Effortlessly mix curved texts into waves, arcs, and circles. Once you’ve learned how to curve text in Canva, you can create more variety in Insta quotes and other social media templates.

3. Get your portraits noticed
Adding curved text to your selfies and images can add a subtle touch of style. Canva’s free curved text generator tool allows you to add a little flair to your profile pics on your social media sites. Incorporating a ring shape as a background makes the circular text more noticeable. To recreate this look in Canva, go to elements and search for a circle shape or round frame. You can then add the curved text at the top to complete the effect.

4. Make Facebook ads more engaging
Make your Facebook ads look professional by curving your text around a circle shape. The upright text is placed at the top and turns upside down as it curves around the circle.
You can accomplish this by adjusting the curve slider to the right in Canva until it forms a perfect circle. It’s that simple! After putting your text within the circle, you can adjust the color, size, font, and text within the circle.
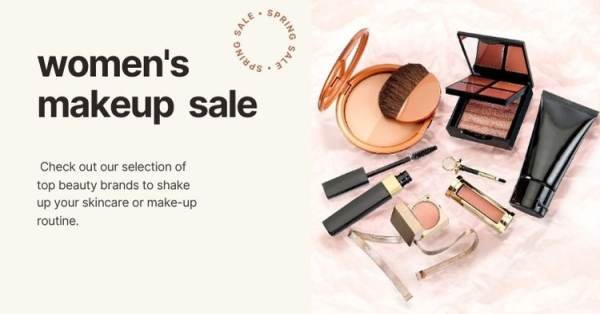
5. Jazz up your flyers
Often, a subtle curve influences your design, particularly when paired with text and a small amount of other visual elements like this Christmas party flyer. If you want to do something similar, search for a banner element in the right sidebar, then insert it into your design and adapt the text to fit it.

6. Add a little fun to Instagram templates
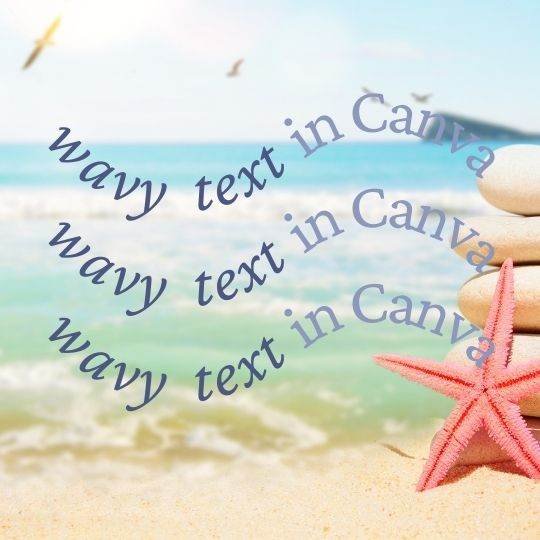
Get creative with curved text and create a wave effect from two separate textboxes. Apply a positive and a negative curve to each piece of text. For this design, we applied the same font to the second text but made the first part italic and changed the color of the second part.
To keep the design balanced, use roughly the same number of letters for each text box. Creating wavy text is another fun way to display it. You can use wavy text for Instagram posts, graphics on your website, or other creative materials for your business.
There are a lot of great templates with curved text available on Canva. Start by selecting a design, then enter curved text in the search template field. This will provide you with a list of all the curved text templates.
Related posts:
How to curve text in canva android?
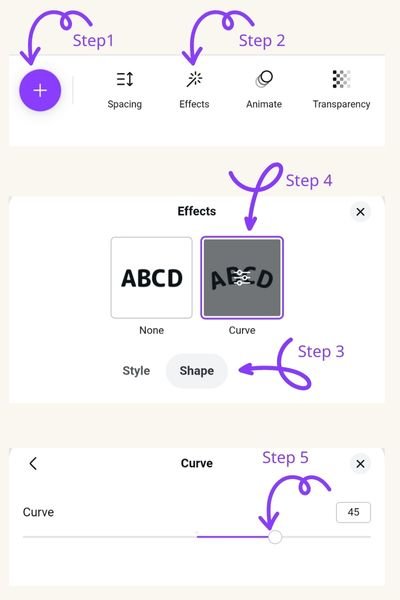
On the mobile app, the process for curving text is similar to the method used on a desktop. Start by clicking the text you want to give a curve effect.
- Choose the purple plus (+) button to reveal the text options.
- Keep scrolling to find the option Effects.
- Select it, followed by the Shape button.
- Tap Curve to reveal the curve slider.
- Move the slider left or right to get the desired curve.
Can you think of a way to make your designs more attractive using curved text? Share your ideas in the comments.

